How a piece is made
Wood first, then flowers, then resin, then time. This is the order most pieces follow, from an empty mold to something you can set a cup on.
-
 Step 1
Choosing the wood
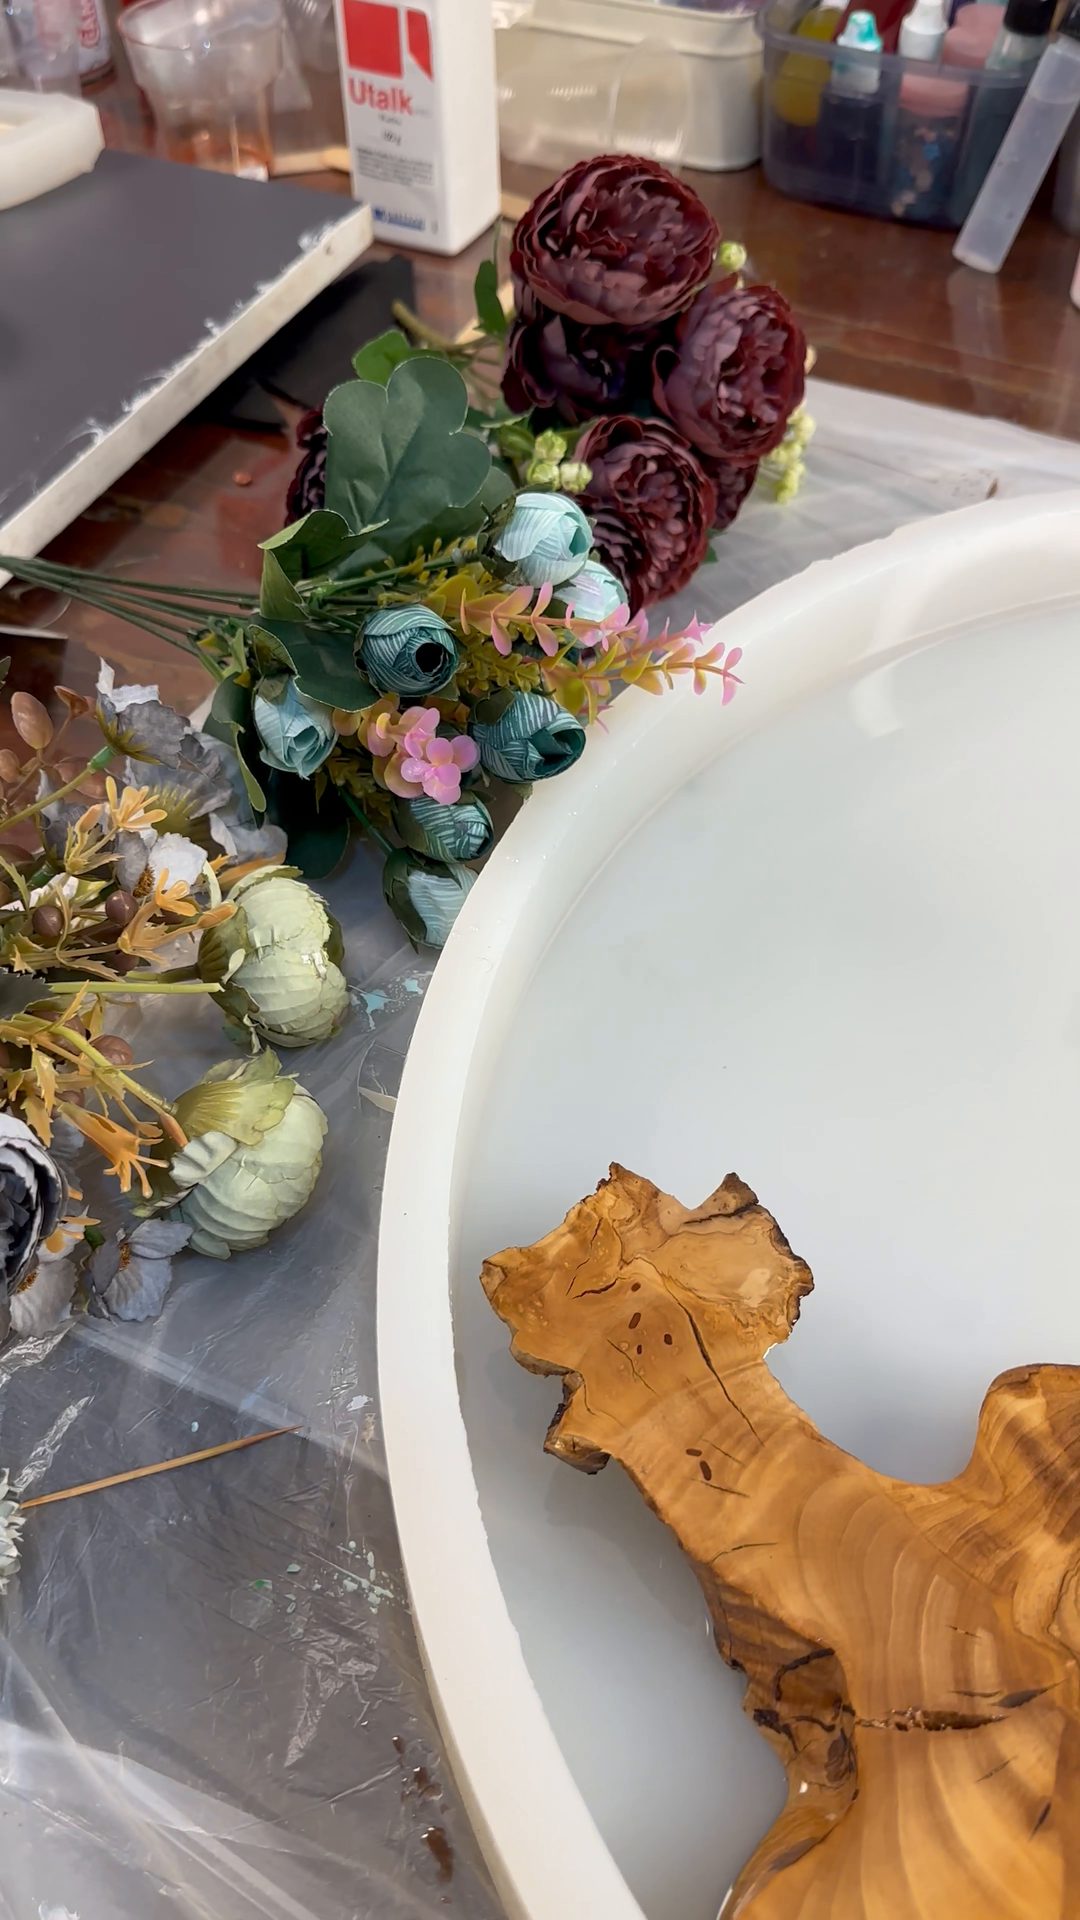
Most pieces start with a piece of wood: a slice, or a cut with its live edge intact. It goes into a white mold first. Some pieces have no wood at all; a black or pink top is poured around flowers alone.
Then the flowers. Eucalyptus leaves, bougainvillea petals and small sprays of blooms are laid in by hand, around the wood or across the whole mold, before any resin goes in.
-
 Step 2
The pour
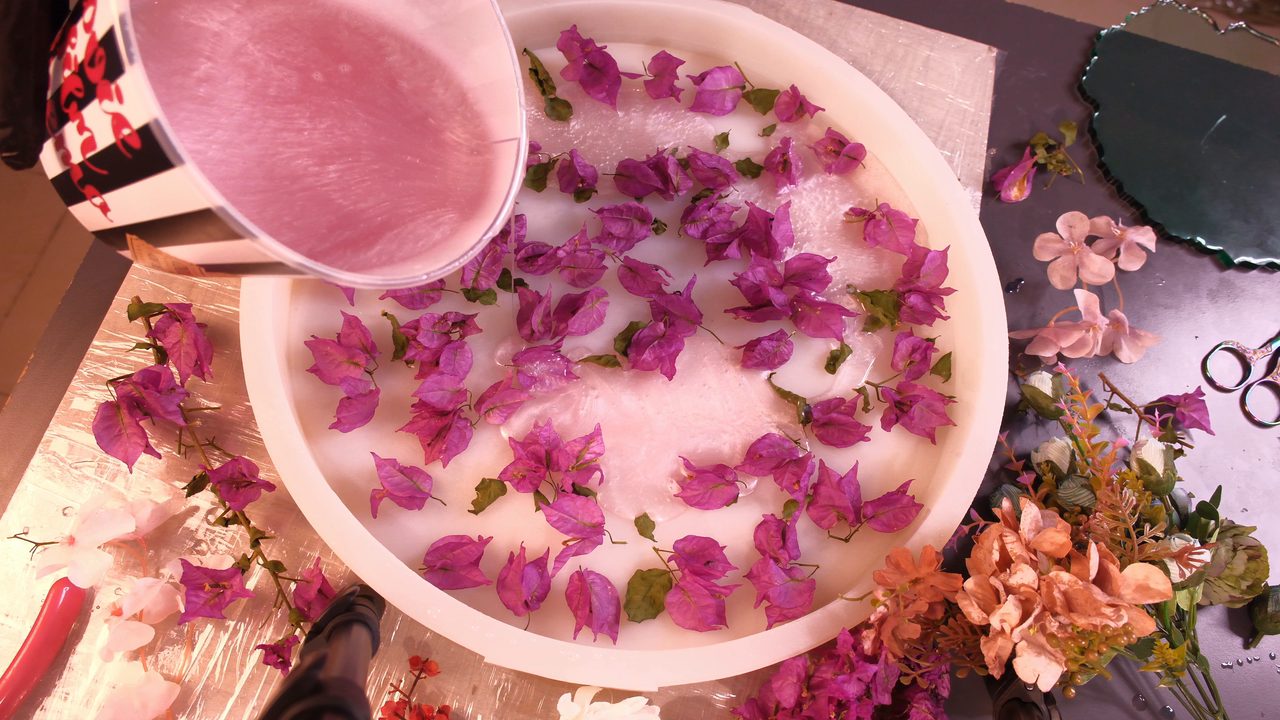
Epoxy resin is mixed and, when a piece calls for it, tinted: clear, milky pink, ocean blue, mint, green, black or copper. It is poured by hand from a cup or a bucket into the mold, over the wood and between the petals.
The resin fills the gaps in the wood, spreads between the petals and settles at its own level. In the workshop footage you can watch it run into a hollow in the wood and bring out the grain as it goes.
-
 Step 3
Curing
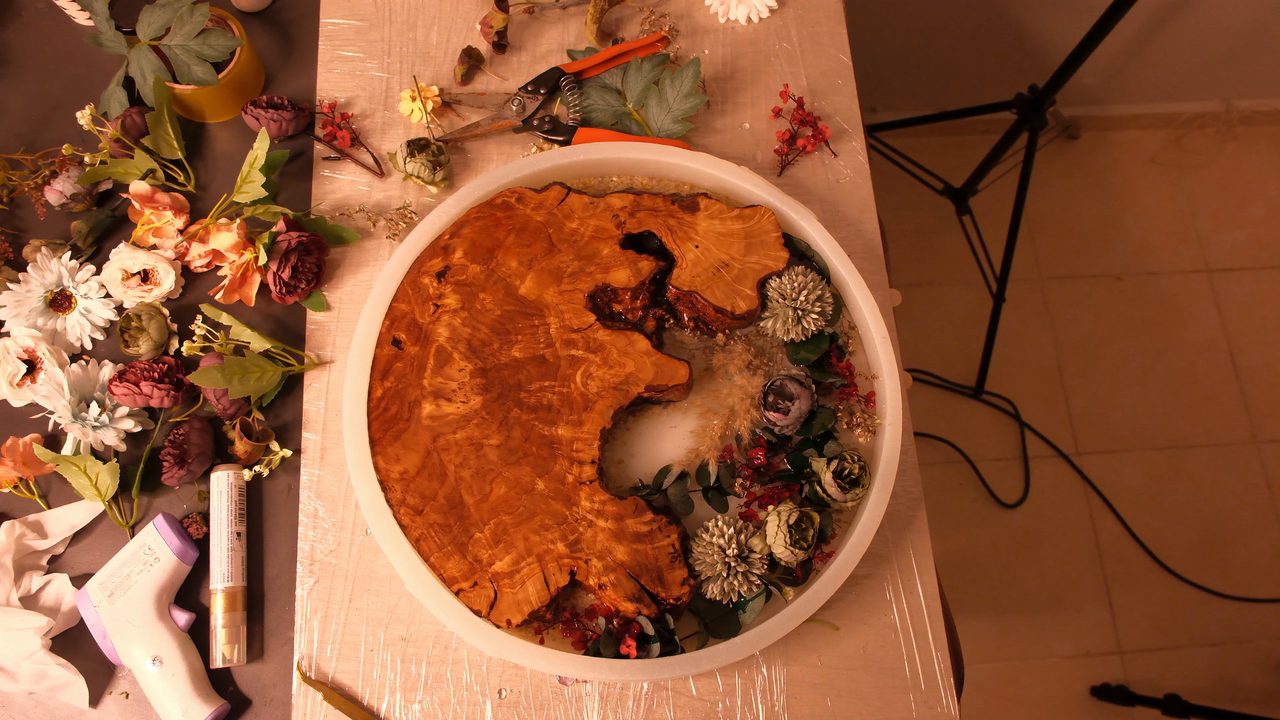
After the pour, a piece usually stays in its mold while the resin hardens.
How long that takes depends on the resin and on the size and depth of the pour. Once the resin has set, the piece comes out of the mold.
-
 Step 4
Sanding & finish
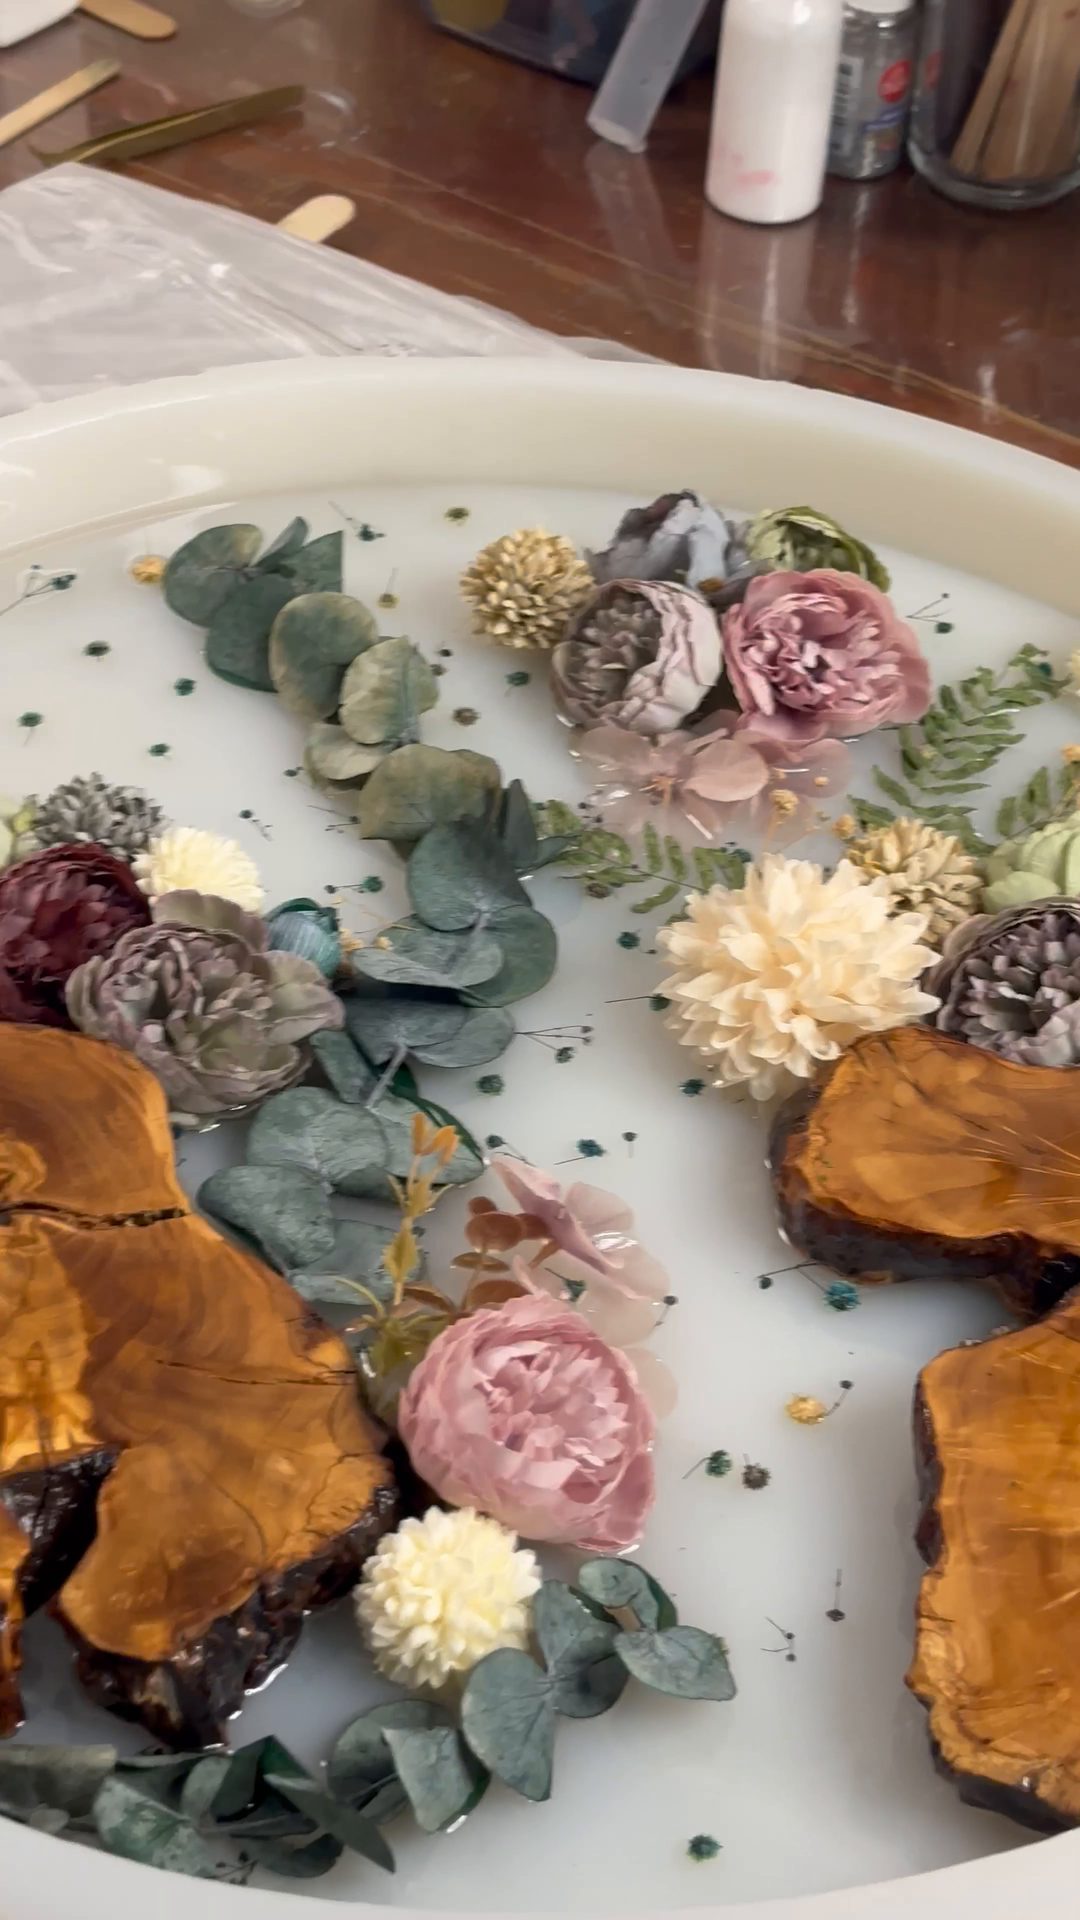
Out of the mold, a piece is usually shaped and sanded until wood and resin meet at one level, then given a smooth finish, most often glossy.
Fittings depend on the piece: legs or a base for a table, hinges, a velvet lining and a mirror for the box, hands for the clock.


Have a different piece in mind?
A different size, color palette or flower choice? Describe what you picture, on Instagram or Etsy. The workshop takes custom requests for tables and serving boards.